
There are quite a few things that can cause a cylinder misfire on your 1994-2005 3.1L V6 Buick Century, and it's easy to think that tracking down the culprit is going to be difficult.
Fortunately, diagnosing the problem is a whole lot easier than it first appears. The trick is to approach it as a process of elimination and test one system at a time.
In this tutorial, I'll show you the same diagnostic strategy I use to find the exact cause of a cylinder misfire. Best of all, most of these tests can be done with basic tools you probably already have in your toolbox —no expensive scan tool or specialty diagnostic equipment required.
Contents of this tutorial:
ES  You can find this tutorial in Spanish here: Cómo Diagnosticar Una Falla En Cilindro (1994-2005 3.1L V6 Buick Century) (at: autotecnico-online.com).
APPLIES TO: This tutorial applies to the following vehicles:
- 3.1L V6 Buick Century: 1994, 1995, 1996, 1997, 1998, 1999, 2000, 2001, 2002, 2003, 2004, 2005.
What Is A Cylinder Misfire?
For your 1994-2005 3.1L V6 Buick Century's engine to run smoothly, each one of its six cylinders has to have three things:
- Spark.
- Fuel.
- Compression.
When one of those three is missing from a cylinder, that cylinder can't contribute its share of power, and the result is a cylinder misfire.
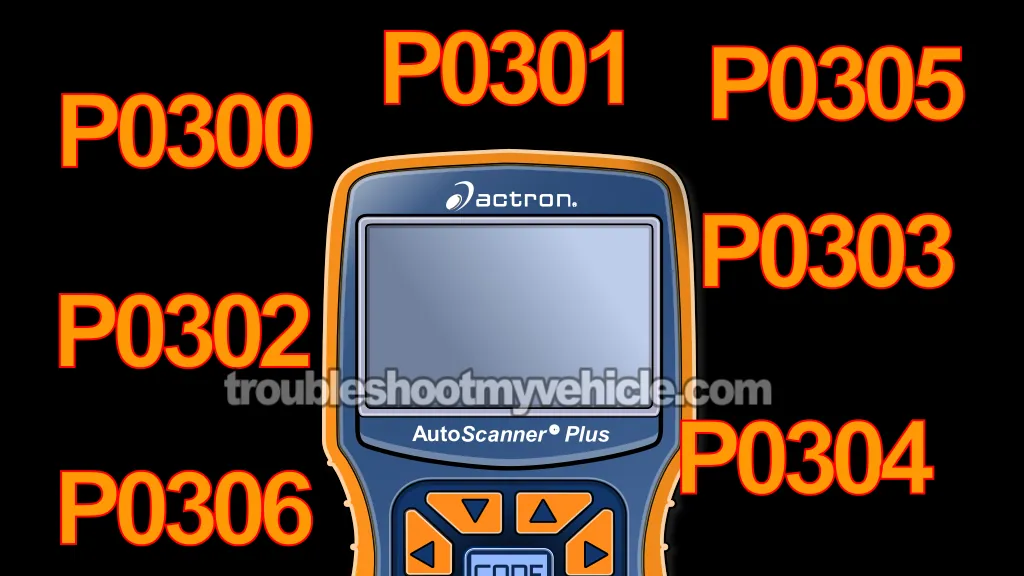
On 1996-2005 (OBD II) models, the PCM will turn the check engine light on and store one or more of the following trouble codes: P0300 (random/multiple cylinder misfire), P0301, P0302, P0303, P0304, P0305, or P0306.
On 1994-1995 (OBD I) models, you won't get P03XX misfire trouble codes, but the engine will still show the classic signs of a misfiring cylinder.
Some of the more common symptoms you'll notice include:
- Rough or unstable idle.
- Engine hesitation or stumbling when you accelerate.
- A noticeable lack of power, especially when the engine is under load.
The good news is that finding the cause of the misfire isn't as complicated as it might seem. Once we identify which cylinder isn't pulling its weight, we just need to find out whether it's missing spark, fuel, or compression. That's exactly the process I'll walk you through in this tutorial.
How To Troubleshoot A Cylinder Misfire
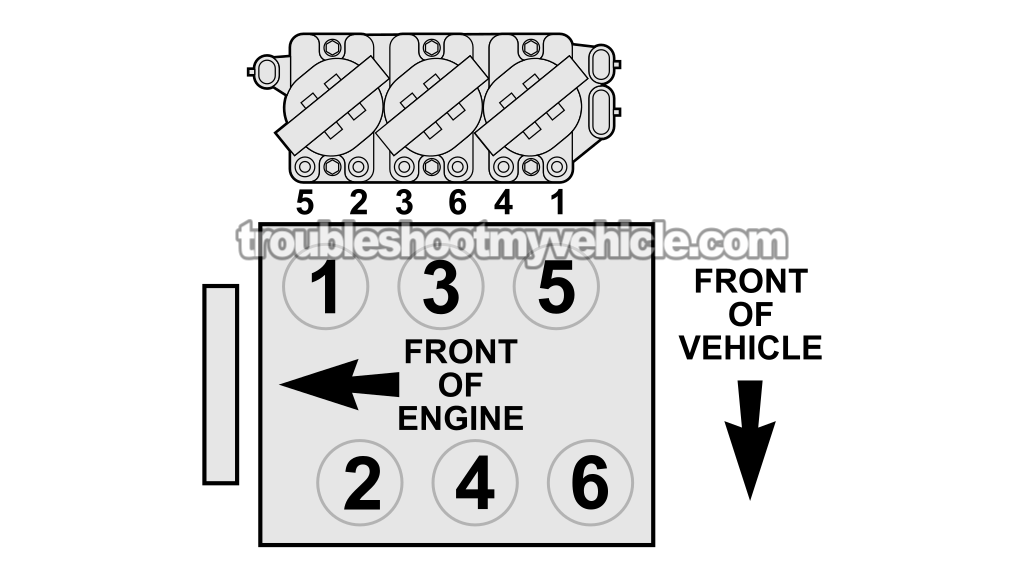
Tracking down the cause of a cylinder misfire on your 1994-2005 3.1L V6 Buick Century is really just a process of elimination.
Once we identify which cylinder is misfiring, our next step is to find out what it's missing. In other words, we need to determine whether that cylinder has lost:
- Spark.
- Fuel.
- Compression.
In many cases, you won't have to perform every single test before finding the problem. But knowing the order in which to perform them will save you time and keep you from replacing good parts that aren't causing the misfire.
In the following sections, I'll walk you through the diagnostic strategy I use to pinpoint the exact cause of the misfire and show you where to begin based on the symptoms your engine is exhibiting.
Let's get started.
- STEP 1: Identify the misfiring cylinder.
- Your first job is to identify which cylinder (or cylinders) isn't contributing its share of power. This is the most important step in diagnosing the cause of the misfire.
- On 1996-2005 (OBD II) models, this is usually as simple as connecting a scan tool or code reader and checking for stored cylinder misfire trouble codes.
- On 1994-1995 (OBD I) models, or in those rare cases where only a P0300 random misfire code is stored, you'll need to perform a manual cylinder balance test to identify the dead cylinder: How To Do A Cylinder Balance Test (GM 3.1L, 3.4L).
- STEP 2: Make sure the cylinder is getting spark.
- After we've identified the misfiring cylinder, our next step is to verify that it's receiving spark.
- To do that, we need to test the spark plug wire with a dedicated spark tester. This is the only reliable way to confirm whether spark is reaching the cylinder.
- If the spark plug wire isn't producing spark, then we've narrowed the problem down to the ignition system.
- Our next step is to test the ignition coil pack that's responsible for firing that spark plug wire. I've written a detailed tutorial that walks you through those tests step by step:
- STEP 3: Inspect the spark plug and spark plug wire boot.
- If you've confirmed that the misfiring cylinder is getting spark, the next step is to remove its spark plug and inspect it carefully.
- Check the spark plug's porcelain insulator for cracks or carbon tracks, since either one can allow the spark to short to Ground before it reaches the electrodes.
- Also inspect the center and side electrodes. If they're badly worn or covered with heavy carbon deposits, the spark plug may no longer be able to ignite the air/fuel mixture efficiently.
- While you're there, inspect the spark plug wire boot and the area around the spark plug for signs of engine oil leaking from the valve cover. Oil contamination can lead to ignition misfires, especially if it finds its way into the spark plug boot.
- The following tutorials cover these issues in more detail:
- STEP 4: Verify the misfiring cylinder has good compression.
- If you've ruled out an ignition system problem, our next step is to check the compression of the misfiring cylinder.
- What we're looking for is a compression reading that's in the same ballpark as the other five cylinders. A cylinder with significantly lower compression isn't going to produce its share of power and will misfire.
- As a general rule, if the compression reading is more than 15% lower than the highest-reading cylinder, you've found the reason behind the misfire.
- Although this is one of the most important tests in the entire diagnostic process, it's also one of the most commonly skipped. Don't skip it —you might end up replacing perfectly good ignition or fuel system components when the real problem is a mechanical engine issue.
- If you need a step-by-step guide, the following tutorial will show you how to perform the compression test and interpret your results: How To Test Engine Compression (1994-2005 3.1L V6 Buick Century).
- If you'd like to see a real-world example of how low compression can cause a stubborn cylinder misfire, check out this case study: Troubleshooting A Hard To Diagnose Misfire Case Study (GM 3.1L, 3.4L).
- STEP 5: Check the misfiring cylinder's fuel injector.
- If you've confirmed the cylinder has spark and good compression, our next step is to make sure its fuel injector isn't the source of the misfire.
- The first thing we want to check is the injector's internal resistance. A fuel injector with an open winding, a shorted winding, or resistance that's outside the specified range isn't going to deliver fuel correctly.
- Fortunately, this is one of the easiest tests you'll perform. All you need is a multimeter to measure the injector's resistance and compare it to specification.
- I've written step-by-step tutorials that show you exactly how to perform this test on your Buick Century:
- STEP 6: Check the fuel injector spray pattern.
- This is the final step in our diagnostic process. By this point, we've already confirmed that the misfiring cylinder has spark, good compression, and that its fuel injector passes the resistance test.
- Now we need to make sure the injector is actually delivering fuel into the cylinder. To do this, you'll remove the injector from the fuel rail and connect it to a simple test setup that lets you pressurize it with a can of brake cleaner while energizing the injector.
- What we're looking for is a fine, cone-shaped spray pattern. If the injector doesn't spray at all, dribbles fuel, or produces an uneven spray pattern, you've found the cause of the cylinder misfire.
- I've written a detailed tutorial that shows you how to perform this test. Although the tutorial was written around a Ford Taurus, the testing procedure is the same for your Buick Century:
If you take away one thing from this tutorial, let it be this: diagnosing a cylinder misfire is simply a process of elimination. There's no magic to it.
Everything starts by identifying the misfiring cylinder, since that's the most important step in the entire diagnostic process. Once you know which cylinder isn't pulling its weight, our next job is to determine what's missing. Is it spark? Compression? Or fuel? Answering those three questions will lead you straight to the cause of the misfire.
Follow the diagnostic steps I've outlined in this tutorial, and you'll be able to pinpoint the source of the misfire without replacing a bunch of good parts. In the end, you'll save yourself time, money, and a whole lot of frustration.
Vacuum Leaks —A Common Cause Of Misfires And Rough Idle
One of the most common causes of a cylinder misfire or rough idle on the 1994-2005 3.1L V6 Buick Century is a vacuum leak caused by failing lower intake manifold gaskets.
From the factory, these engines came with composite (plastic) lower intake manifold gaskets. Over time, the plastic deteriorates and the sealing material breaks down. Eventually, the gasket can literally begin to fall apart, allowing both vacuum leaks and coolant leaks to develop.
There's an improved after-market lower intake manifold gasket that uses a steel carrier with molded rubber sealing surfaces. Although it's a much better design, it's not immune to failure. As the years go by, the rubber sealing beads harden and lose their ability to seal the intake manifold to the cylinder heads.
In the early stages of gasket failure, you'll often notice a rough idle or a cylinder misfire, especially when the engine is started cold. As the engine reaches operating temperature, the aluminum intake manifold and cylinder heads expand, which can temporarily reduce the vacuum leak. This causes the misfire or rough idle to improve or even disappear until the engine cools off again.
The biggest telltale sign of a failing lower intake manifold gasket is an external coolant leak. The coolant passages are located near the ends of the intake manifold where it bolts to the cylinder heads, so it's common to see coolant seeping down the outside of the engine in these areas.
If you catch the coolant leak early and replace the intake manifold gaskets, you'll avoid a much bigger repair later. Ignoring the leak can eventually lead to engine overheating, internal coolant leaks, or even a blown head gasket.
Besides the lower intake manifold gaskets, don't overlook the usual vacuum leak sources, such as:
- Cracked or disconnected vacuum hoses.
- Damaged PCV hoses or rubber elbows.
- A leaking brake booster vacuum hose or faulty check valve.
- Cracked plastic vacuum fittings connected to the intake manifold.
Fortunately, checking for a vacuum leak isn't difficult. My preferred method is to lightly spray carburetor cleaner around the area I suspect is leaking while the engine is idling. If the spray gets pulled into a vacuum leak, you'll usually hear the idle speed change or smooth out, letting you know you've found the problem.
More 3.1L V6 Buick Century Diagnostic Tutorials
You can find a complete list of 3.1L V6 Buick Century diagnostic tutorials and wiring diagrams here:
Here's a list of articles you'll find there:
- How To Test The Fuel Pump (1994-2005 3.1L V6 Buick Century).
- How To Test The Ignition Coil Packs (1994-2005 3.1L V6 Buick Century).
- How To Test The TPS With A Multimeter (1997-2005 3.1L V6 Buick Century).
- How To Test Engine Compression (1994-2005 3.1L V6 Buick Century).

If this info saved the day, buy me a beer!
