
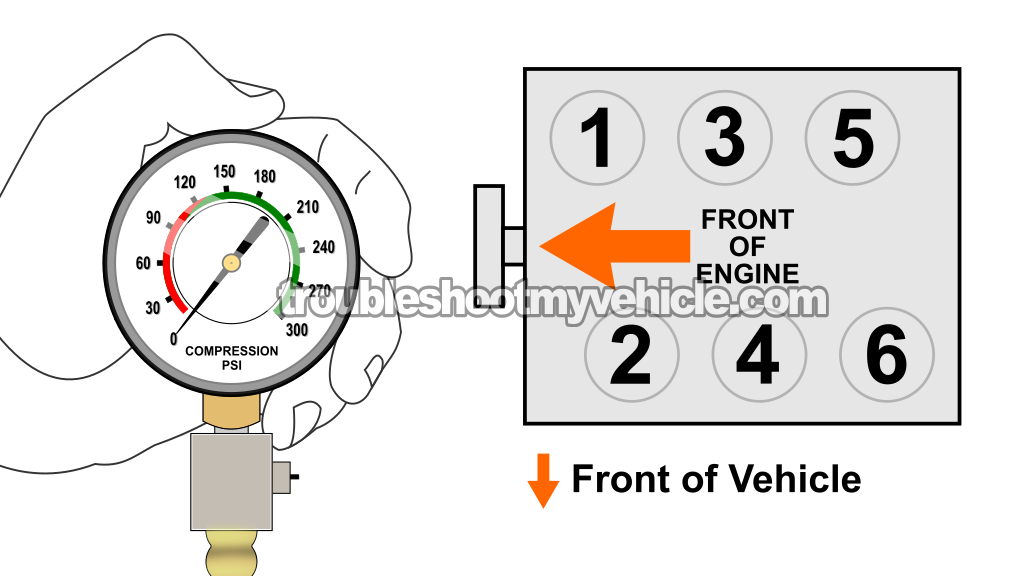
The engine compression test is one of those often-overlooked tests when it comes to diagnosing a hard-to-find cylinder misfire or an engine no-start condition.
In this tutorial, I'm going to explain how to perform the test and, more importantly, how to interpret your test results to find out if a compression problem is causing an engine performance issue or an engine no-start condition.
All of the steps are explained in a step-by-step manner so that you can easily and quickly find out what's going on.
And if you don't have an engine compression tester, I'll point you to where you can buy a reliable one that won't break the bank.
Contents of this tutorial:
ES  You can find this tutorial in Spanish here: Cómo Probar La Compresión Del Motor (1999-2004 3.4L V6 Oldsmobile Alero) (at: autotecnico-online.com).
APPLIES TO: This tutorial applies to the following vehicles:
- 3.8L V6 Buick LeSabre: 1994, 1995, 1996, 1997, 1998, 1999, 2000, 2001, 2002, 2003, 2004, 2005.
Symptoms Of Low Or No Engine Cylinder Compression
In most cases, when the engine is suffering from a compression problem, you're going to see one of the following two issues:
- The engine starts and runs, but it misfires. Usually, as soon as you rev up the engine, the misfire disappears.
- The engine turns over but won't start. Usually the result of all (or most) cylinders with very low or zero compression.
When you've got low or zero compression affecting one or two cylinders, the engine is going to start and run, but it's going to run with a misfire.
With this type of compression problem, you're going to see one or more of the following engine performance symptoms:
- Bad gas mileage: The engine uses more fuel than normal.
- Blue exhaust smoke: Blue smoke comes out of the tailpipe, especially when you're stepping on it.
- Stronger exhaust odor: The exhaust has a stronger fuel smell than normal.
- Loss of power: The engine doesn't have the same power or acceleration it once had.
- Rough idle: The engine idles rough but smooths out as soon as you accelerate.
- Check engine light: The check engine light is illuminated on the instrument panel.
- OBD II misfire codes (1996-2004 models): You may find one or more of the following trouble codes stored in the PCM:
- P0300: Random/Multiple Cylinder Misfire.
- P0301: Cylinder #1 Misfire.
- P0302: Cylinder #2 Misfire.
- P0303: Cylinder #3 Misfire.
- P0304: Cylinder #4 Misfire.
- P0305: Cylinder #5 Misfire.
- P0306: Cylinder #6 Misfire.
As you probably already know, at the heart of the formula that governs how each cylinder produces power is the fact that it needs three things: compression, spark, and fuel.
If any one of those three components is missing from a cylinder, that bad boy is going to misfire.
On the other hand, if most or all six cylinders in your Oldsmobile Alero are producing low or zero compression, well, the engine isn't gonna start.
Which Compression Tester Should I Buy?
There are lot of engine compression testers to choose from and many places to buy them. I'm gonna' make some recommendations to you:


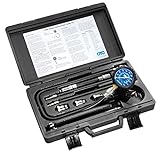
Disclosure: As an Amazon Associate, I earn from qualifying purchases. If my tutorials help you, using these links is an easy way to support the site at no extra cost to you. Thank you!
TEST 1: Dry Compression Test
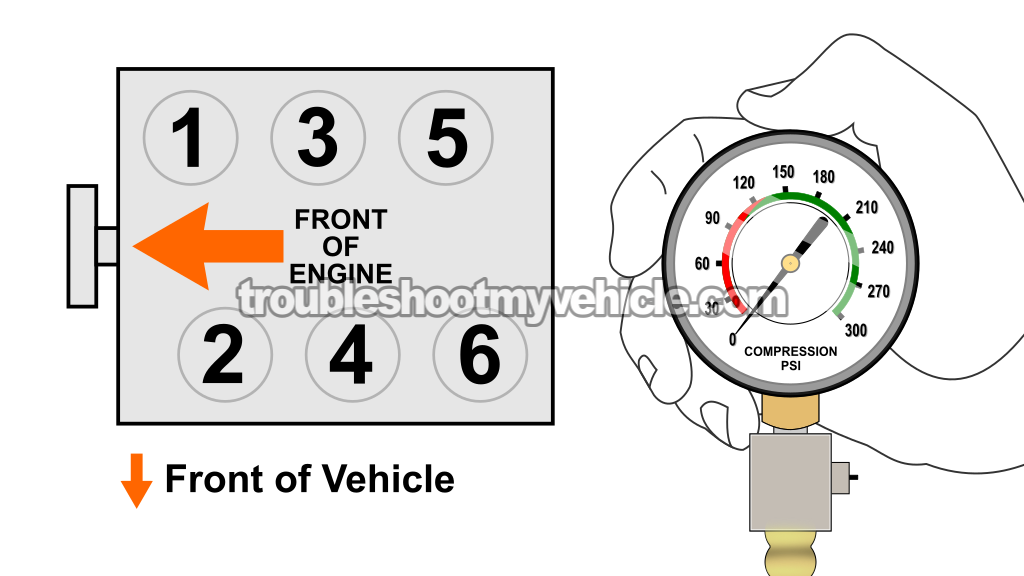
Before we get started, I want to recommend that you check the compression on all six cylinders. Doing so will give you a much better idea of your Alero's engine's overall mechanical condition, especially since it's probably got quite a few miles on it.
If you're trying to diagnose an engine no-start problem, then testing all six cylinders probably isn't optional. It's something you've got to do. The main reason for this is that when an engine isn't starting, it's possible that several cylinders (if not all six) are producing low or no compression. So, having all six compression readings will make it that much easier to pinpoint what's causing the problem.
Now, if you're dealing with a cylinder misfire, then testing all six cylinders isn't always necessary. If you've got a trouble code identifying the misfiring cylinder, or if you already suspect which cylinder is misfiring, then you can start by testing that cylinder along with at least two others that are firing normally.
The main reason for testing those two good cylinders is that they'll give you something to compare your results against. Once you know what a normal compression reading looks like on your engine, it'll be that much easier to do the math and find out if the suspect cylinder has a compression problem that's causing the cylinder misfire.
If you don't already have a compression tester, you can borrow one from many local auto parts stores or buy one online. If you'd like to comparison shop before making a purchase, take a look at my recommendations here: Which Compression Tester Should I Buy?
IMPORTANT: If the engine has been running, let it cool down completely before removing any of the spark plugs.
OK, let's get started. These are the test steps:
- 1
Disable the ignition system by unplugging the ignition control module (ICM) electrical connector.
This will prevent the ignition coils from producing spark while the engine is being cranked during the compression test. - 2
Remove all six spark plugs. Make sure the engine is completely cool before removing them.
As you remove each spark plug, be careful not to drop it. A cracked porcelain insulator can cause a misfire, and that's one problem we definitely don't want to create while trying to diagnose another. - 3
Thread the compression tester into the spark plug hole for cylinder #1.
NOTE: Hand-tighten the compression tester only. There's no need to use a wrench or any other tool to tighten it. - 4
Have your helper crank the engine until the needle on the compression gauge stops climbing.
- 5
Write down the highest compression reading along with the cylinder number on a piece of paper.
- 6
Release the pressure from the gauge and repeat the test one more time on the same cylinder to verify the reading.
- 7
Repeat the compression test on the remaining five cylinders, making sure to record the highest reading for each one.
Let's take a look at what your results mean:
CASE 1: One or more cylinders registered a much lower compression reading than the others. Depending on how low the reading is, this may indicate an internal engine problem.
Our next step is to determine whether those compression readings are actually outside the normal range. Go to: Interpreting The Compression Test Results.
CASE 2: Three or more cylinders had little or no compression (0 PSI or close to it). This is the reason why the engine cranks but doesn't start.
Compression readings this low are usually caused by one of the following mechanical problems:
- Broken timing chain: The camshaft is no longer synchronized with the crankshaft.
- Blown head gasket: Compression is leaking between cylinders or into the cooling system.
- Thrown connecting rod: The affected piston can no longer compress the air/fuel mixture.
CASE 3: All six cylinders produced similar compression readings above 120 PSI. This tells you that the engine's mechanical condition is good and that low compression isn't causing the misfire or no-start condition you're trying to diagnose.
Interpreting The Compression Test Results
Before you start comparing compression readings, there's one thing I want to point out: don't expect all six cylinders to produce exactly the same compression value. That's perfectly normal, especially on a 3.4L V6 engine that's probably got quite a few miles on it.
What we're really looking for is whether one cylinder stands out from the rest. In other words, does one cylinder have a compression reading that's low enough to explain the rough idle or cylinder misfire you're trying to diagnose?
A cylinder doesn't have to have 0 PSI to cause a problem. It can still produce compression and yet not produce enough of it to do its job. That's why we need to compare the lowest compression reading to the highest one.
The rule we're going to use is simple. The cylinder with the lowest compression reading shouldn't be more than 15% lower than the cylinder with the highest compression reading from TEST 1. If it is, then you've found a compression problem that's severe enough to cause an engine performance issue.
If you'd like to skip the math, I've created an online calculator that'll do it for you. You can find it here: Online Low Engine Compression Calculator (at: easyautodiagnostics.com).
If you'd rather do the calculation yourself, let's look at an example.
- Cylinder #1: 175 PSI.
- Cylinder #2: 165 PSI.
- Cylinder #3: 160 PSI.
- Cylinder #4: 120 PSI.
- Cylinder #5: 160 PSI.
- Cylinder #6: 170 PSI.
In this example, the highest compression reading is 175 PSI. Here's how we determine the lowest acceptable compression value:
- Step 1: Multiply 175 by 0.15 (15%): 175 × 0.15 = 26.25. We'll round that to 26 PSI.
- Step 2: Subtract 26 PSI from 175 PSI: 175 - 26 = 149 PSI.
- Step 3: This means that 149 PSI is the lowest acceptable compression reading in our example.
Since cylinder #4 only produced 120 PSI, we now know that its compression reading falls well below the acceptable limit. In other words, we've found a compression problem that's capable of causing a rough idle or cylinder misfire.
The next step is to find out why that cylinder has low compression. For that, head over to: TEST 2: Wet Engine Compression Test.
TEST 2: Wet Engine Compression Test
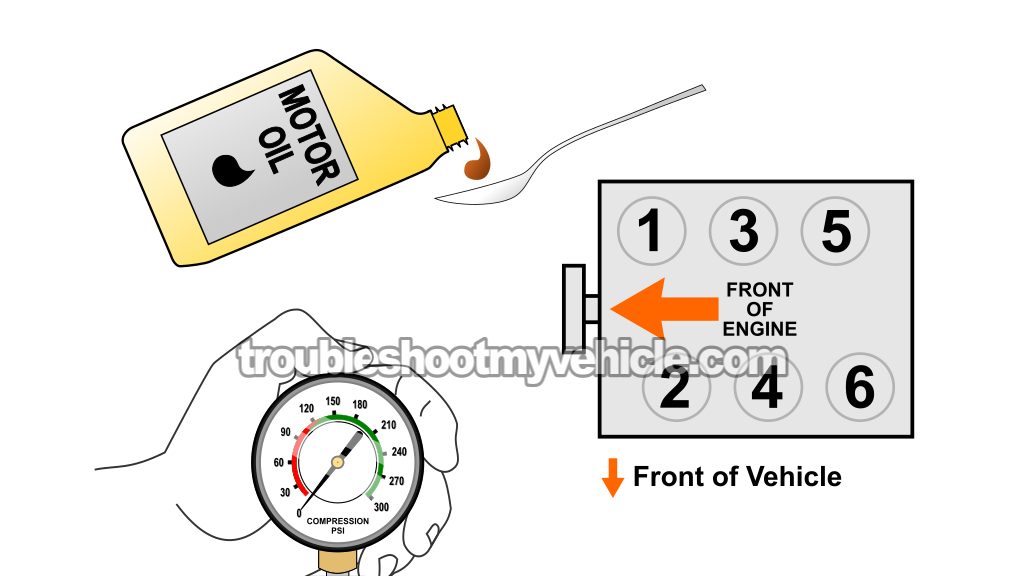
If you've reached this test section, then you've found a cylinder (or several cylinders) with low or zero compression in TEST 1. Our next step is to figure out what's causing that low or zero compression value. And thankfully, we don't need to tear the engine apart to find out.
That low or zero compression value is usually going to be caused by one of two things:
- The piston rings are worn out. They're no longer able to properly seal the cylinder and compress the air/fuel mixture.
- The intake or exhaust valves are worn or damaged. They're no longer able to seal properly against the cylinder head.
The way that we're going to find out what's causing the low or zero compression value is by doing a wet compression test. And this simply involves adding a little bit of engine oil to the affected cylinder and then checking its compression one more time.
I'll tell you right off the bat that getting the oil into the cylinder can be a bit of a challenge. The method that I've found works best for me is to use a hand pump oiler can and a short piece of translucent vacuum hose. I simply insert one end of the hose into the spark plug hole and use the oiler can to pump the oil through the hose and into the cylinder. It works like a charm.
Now, I use translucent vacuum hose because it lets me actually see the oil traveling through it and going into the cylinder. It's a simple little trick, but it really makes this whole test a whole lot easier.
If you don't already have a hand pump oiler can, you can comparison shop for one here:
- Hand Pump Oiler Can Professional Level 8 oz (Amazon affiliate link).
Once you've added the oil, repeat the compression test and compare the new compression reading to the original one.
- If the compression reading increases significantly: The added oil is temporarily sealing the piston rings, which tells us they're worn or damaged.
- If the compression reading stays about the same: The problem isn't with the piston rings. The compression loss is occurring through one or both of the valves because the added oil can't seal a leaking valve.
OK, let's get started:
- 1
Add about two tablespoons of clean engine oil to the low-compression cylinder.
- 2
Install the compression tester in the same cylinder and hand-tighten it.
- 3
Have your helper crank the engine until the needle on the compression gauge stops moving.
- 4
You're going to get one of two results:
1.) The compression reading increases noticeably when compared to the reading from the dry compression test.
2.) The compression reading stays about the same or increases only slightly. - 5
Repeat the test on any other low-compression cylinders you'd like to verify.
Let's take a look at what your test results mean:
CASE 1: The compression reading increased after adding the engine oil. This tells us that the piston rings are worn or damaged. The added oil temporarily helped seal the rings, allowing the cylinder to build more compression than it did during the dry compression test.
CASE 2: The compression reading didn't change or increased very little. This tells us that the piston rings aren't the source of the compression loss. Since engine oil can't seal a leaking intake or exhaust valve, the compression reading remains essentially unchanged. In most cases, this points to one or both cylinder head valves not sealing properly.
More 3.4L V6 Oldsmobile Alero Diagnostic Tutorials
You can find a complete list of diagnostic tutorials for your 1999-2004 3.4L V6 Oldsmobile Alero in this index:
Here's a small sample of the tutorials you'll find:
- How To Test The 7X Crankshaft Position Sensor (1994-2004 3.4L V6 Olds Alero).
- How To Test The TPS With A Multimeter (1999-2004 3.4L V6 Olds Alero).
- Common Causes Of Spark Plug Failure (1999-2004 3.4L V6 Olds Alero).
- How To Test For A Blown Head Gasket (1999-2004 3.4L V6 Olds Alero).

If this info saved the day, buy me a beer!
