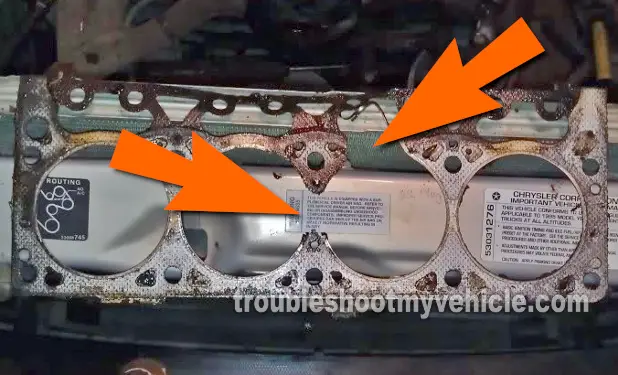
One of the most expensive automotive repairs any Honda owner can experience is having to replace a blown head gasket.
If you've had the misfortune of having to replace the head gasket or are in the process of having to replace it on your Honda Accord (Odyssey, Prelude or Isuzu Oasis), you may be wondering if it's possible to avoid a repeat of the problem. The answer is: Yes.
In this article I'll go into some detail about what you need to do, to avoid the tremendous expense that's involved with having to replace blown head gasket.
The Root Cause Of A Blown Head Gasket
The root cause of a blown head gasket is usually severe overheating of the engine in your Honda Accord (Odyssey, Prelude, Oasis, etc.).
An overheating condition itself has several root causes. Here are the most common causes of an overheating condition:
- Coolant leak. The most common causes of the cooling system loosing coolant are:
- Water pump failure.
- Radiator hose busting open.
- Cracked radiator.
- Heater core leaking.
- Small coolant by-pass hose leaking.
- Thermostat fails and stays stuck closed.
- Cooling fans stop working. The following tutorials may be of help:
One of the most overlooked (and under-repaired) issues is small coolant leaks. Of course, a small coolant leak doesn't result in a blown head gasket overnight but ignored long enough, this little leak will eventually result in a blown head gasket (I've seen this happen a lot!) Why?
Because the cooling system needs to pressurize to a certain pressure to effectively keep the engine at a normal operating temperature. If it doesn't pressurize, the engine develops internal hot spots that can crack heads, the engine block, and burn head gaskets!
Let's find out more about what can be done to prevent a blown head gasket(s).
The Water Pump And Coolant Leaks
TIP 1: Replace the water pump when replacing the timing belt. If you've owned your Honda Accord (Odyssey, Prelude, Oasis, etc.) for any length of time, you know that the water pump is driven by the timing belt.
You also know that you need to replace the timing-belt at a certain mileage interval (usually at 60,000 miles).
Now, the majority of auto repair shops will replace the water pump along with the timing belt as standard operating procedure and you should too (if you're doing the repair yourself at home).
TIP 2: Check for coolant leaks. Regularly popping open the hood of your Honda car or mini-can and checking for coolant leaks is a must, especially it the engine has a lot of miles on it and/or your vehicle has age.
I also suggest checking for coolant leaks by:
- Scanning the driveway (or whatever piece of pavement the car is parked on) for green coolant puddles whenever you pull in or out.
- Checking for coolant leaks at oil change time (whether you do them yourself or take it to a fast-lube/oil-change place). Since you're already under the hood (and under the engine draining the oil and replacing the oil filter), take the time to thoroughly check the top and bottom of the engine area for coolant leaks with a flashlight.
Although the following is not an exhaustive list of things that can leak coolant, it'll give you an idea what to shine your flashlight on (while you're under the hood or under the vehicle):
- Radiator hoses (where the hose is clamped to the radiator or the engine).
- Small coolant bypass hoses that connect on or around the intake manifold.
- Heater core and its hoses.
- Since the heater core is inside the vehicle, the areas you need to check for coolant leaks are the front passenger side floorboard (inside the vehicle) and by the lower-bottom part of the engine's firewall.
- Radiator.
- Radiator cap.
- Around the bottom of the crankshaft pulley since this will alert you that the water pump weep hole is leaking coolant.
If you do spot a coolant leak, what next? Well, let's explore this in the next subheading.
Don't Use Leak Sealers To Stop A Leak
TIP 3: Don't us a coolant leak sealer to stop a leak! Whatever is leaking coolant needs to be replaced!
It's so tempting to use some sort of stop leak in a can, because depending on what's leaking coolant it can almost cost ‘an arm and a leg’ to repair the coolant leak. And so the can of stop leak seems like the cheapest and safest fix. But, is it?
Speaking from years of experience working as an automotive tech, I can tell you that a can of stop leak may work initially, but it's not a permanent repair. To add insult to injury, this can of stop leak will help clog your heater core and radiator in the long run and eventually cause your vehicle to overheat.
So, eventually, not only will you have to repair the leak by replacing the part that's leaking coolant, but you may also have to either rod-out the radiator (or replace it) and replace the heater core, thus making this 'cheap fix in a can' an expensive one!
My advice to you is: avoid the can of coolant stop leak and replace the component that's leaking.
