Precautions To Take When Installing The Intake Manifold Plenum

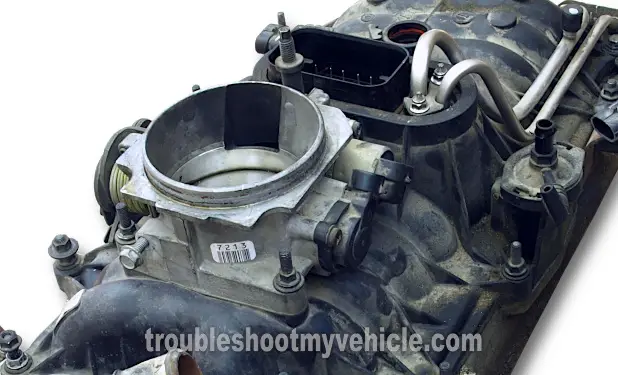
In case you're wondering what the heck is the 'plenum', this is the name of the plastic part that covers the Spider fuel injector assembly. It's also the part that you have to remove to get to the fuel pressure regulator or the Spider fuel injector assembly itself.
To avoid damaging the Spider assembly's O-ring (and causing a major vacuum leak, which will result in a rough idle condition), here are a few precautions you need to take to successfully complete the repair:
- Coat the Spider fuel injector assembly O-ring with a lubricant, such as:
- Petroleum Jelly (yeah, Vaseline, the stuff you have in your bathroom's medicine cabinet).
- White lithium grease.
- Engine assembly lube.
- Avoid using WD-40 spray lubricant.
- In the long-run, WD-40 (or any similar, knock-off, type of spray lubricant/rust remover) will make the O-ring swell up and eventually cause a vacuum leak.
- Clean the inside of the plastic plenum where it makes contact with the O-ring.
- Avoid scraping the carbon build-up with any type of sharp metal object. Instead, hose the area down with carburetor cleaner and use a rag/towel to remove the carbon build up.
- IMPORTANT: Do not scratch or cause deep grooves in the area that mates with the O-ring or you'll cause permanent damage to the plastic plenum (which will require a replacement).
- Coat the inside of the Plenum with lubricant -after cleaning the part that makes contact with the Spider assembly O-ring.
- Don't use RTV Silicone Sealer on any of the rubber gaskets or O-rings.
- It's important that you install the plastic plenum's rubber gaskets dry (without any type of sealant).
- Use a torque wrench on the plenum bolts.
- This is not an absolute must but, if you have no prior wrenching experience, then run down to your local AutoZone or O'Reilly auto parts store and rent one (they usually rent for free).
- Make sure all parts are dry before installing plenum on the intake.
- Do not use gasoline to clean any of these parts (gasoline will eat into the rubber gaskets and O-ring causing vacuum leaks down the road).
- If you used carb. cleaner, make sure it dries completely before assembling any of the parts together.
Once you start installing the plenum over the Spider assembly, you may need to use some pliers and very gently pull on the Spider assembly as you push the plenum down.
Spider Fuel Injector Assembly O-ring Is Not Leaking Vacuum, What Next?
So, you tested around the Spider fuel injector assembly's O-ring area, with carb. cleaner and nothing, the O-ring is not leaking vacuum. What's next?
Well, if the rough idle condition started after you replaced something inside the plastic plenum (like the fuel pressure regulator, a fuel injector, or the entire Spider assembly), then the problem still lies with one of the gaskets used in the repair.
I suggest the following:
- Check the intake manifold gaskets for vacuum leaks.
- This test is the same as the one for checking the Spider fuel injector assembly's O-ring for vacuum leaks, which means you'll be spraying carburetor cleaner around the base of the intake manifold (where it meets the cylinder head).
- Do a fuel pressure leak down test.
- There's a good chance, that whatever you just got done replacing is leaking fuel and you can confirm or eliminate this possibility (without tearing it down again) by doing a fuel pressure Leak Down Test.
- You can find this test here: TEST 1: Fuel Pressure Leak Down Test.
The bottom line, is that if the problem started after replacing anything connected to the Spider fuel injector assembly, then you don't need to look anywhere else. You need to double check your work because looking for the problem anywhere else will have you chasing ghosts.
